Create a project file
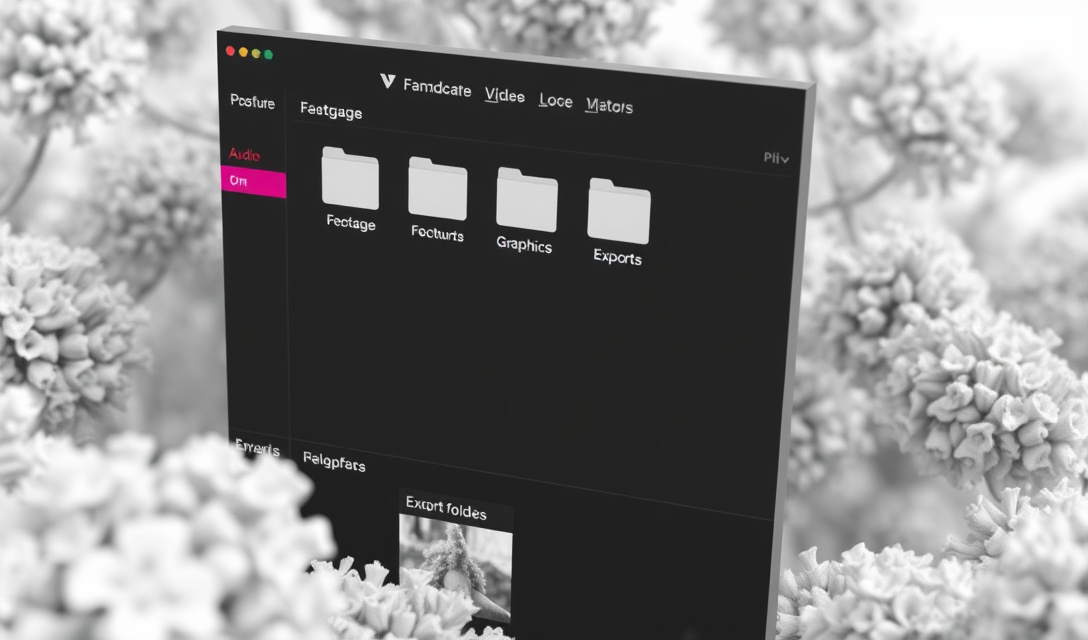
A Premiere Pro edit starts with a project, not with footage. The project file is a .prproj container that stores every edit decision and a set of references to your media, so the first action after opening the application is naming and saving that file before anything else happens, as Adobe's own walkthrough on editing video in Premiere sets out. From there, a beginner workflow runs in a fixed order, and skipping a step tends to cost more time later than it saves now:
- Create a project file and choose a save location on a drive with enough free space for both the project and the render cache it will generate as you work.
- Import media files into bins — folders inside the Project panel that mirror how the footage is organised on disk, rather than one long unsorted list that gets harder to navigate with every clip added.
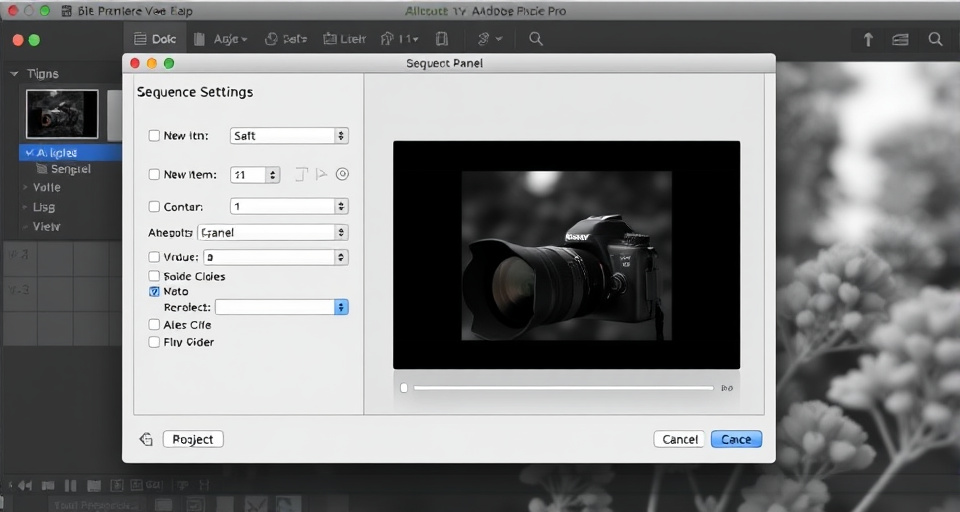
- Create a sequence whose settings match the footage — either dragging a clip onto the New Sequence icon so Premiere reads its resolution and frame rate, or picking a preset that matches the camera format.
- Drag clips to the timeline's video and audio tracks, building a rough assembly before any fine trimming, so the overall shape of the video exists before its details are polished.
- Trim and cut with the editing tools — the Selection tool for dragging clip edges, the Razor tool for splitting, and ripple/roll trim for adjusting an edit point without leaving a gap.
- Add transitions, effects and graphics once the cut is locked, not before — moving effects around after every trim wastes time re-applying them to a clip that has since shifted position.
- Export with chosen settings, matching the delivery format (resolution, codec, bitrate) to where the video will actually play.
The University of Wisconsin's Premiere training manual frames this as a linear path for a reason: skipping steps — importing before organising bins, or building a sequence before checking footage settings — is what produces most of the problems covered below. A beginner who follows this order once, on a short, single-source clip, will have touched every part of the interface that a longer or more complicated project will later demand in more depth.
Media files are moved, renamed or stored outside an organised folder
A clip that plays fine one day and shows as a black frame with a red slash the next has usually been moved, renamed, or deleted outside Premiere. The project file doesn't store the media itself — it stores a pointer to a file path — so anything that changes that path breaks the link, leaving the clip marked offline or missing in the Project panel and on the timeline, even though nothing about the edit itself has changed.
The fix is mechanical rather than creative:
- Keep a single project folder with clearly named subfolders for footage, audio, graphics and exports, and set up Project panel bins that mirror that same structure, a habit both the Wisconsin training manual and Rice University's Premiere guide recommend before import.
- When a clip goes offline, use Premiere's relink function to point it back at the file's new location rather than re-importing it, which preserves any trims already made on the timeline.
- Avoid renaming footage after import; if a rename is unavoidable, relink immediately rather than continuing to edit around a missing file, because every additional trim made against an offline placeholder has to be re-checked once the real media returns.
- Copy media onto a local or fast external drive before editing rather than working directly from an SD card or a cloud-sync folder that can rename or partially download files mid-session.
This single failure — media moved outside the folder structure the project expects — is responsible for more broken projects than any effect or transition setting, which is why folder discipline before import matters more than it looks like it should. It is also one of the few failures in an edit that cannot be trimmed, undone or graded around: once the file path is broken, the only way forward is finding the file again and telling Premiere where it went.
Sequence settings do not match source footage resolution or frame rate
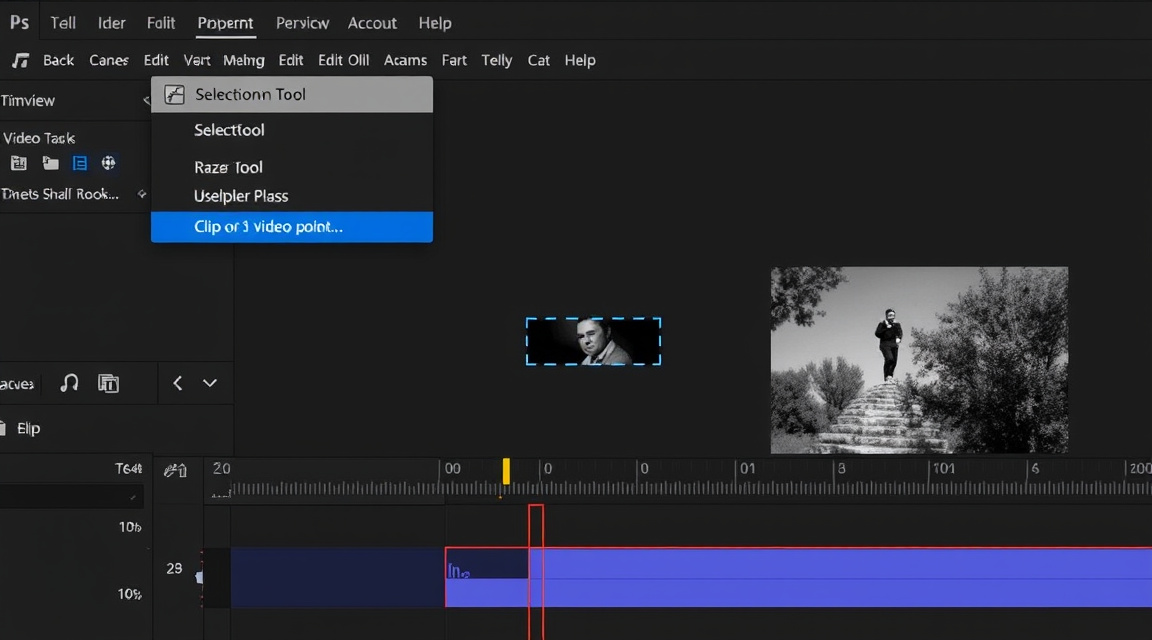
This is the mismatch behind most of what reads as a timeline jumping while trimming. A sequence has its own resolution and frame rate, set once when it's created, and if that doesn't match the footage dropped into it, Premiere has to scale or conform every frame on the fly during playback. On modest hardware, that conforming work is exactly what shows up as skipped frames, stutter, or a playhead that appears to jump ahead of where a trim was just made, rather than moving smoothly through the new edit point.
There are two ways to set sequence settings, and beginners routinely blur them:
- Match a source clip — drag a representative clip onto the New Item icon in the Project panel, and Premiere builds a sequence with that clip's exact frame rate, resolution and pixel aspect ratio. This is the safer default when all the footage in a project comes from one camera and needs no reformatting for delivery.
- Choose a preset — pick a standard sequence preset when footage is mixed or when the final delivery format is already known and doesn't match the source. A preset forces every clip that doesn't already match it to be scaled or reinterpreted, which is deliberate in that case, not a mistake, but it means every non-matching clip is being processed rather than played back unchanged.
Getting this wrong is expensive precisely because the symptom doesn't show up until later: a project edited in the wrong sequence settings can look acceptable in a small preview window and only reveal scaling artefacts or dropped frames once it's exported and viewed full-screen, which is exactly the quality loss Adobe's editing guide warns is easier to prevent at the sequence stage than to fix afterward. Checking a new sequence's settings against the source clip's properties, before a single trim is made, costs a few seconds and removes an entire category of problem that otherwise surfaces at the worst possible point — export day.
Playback lag has a second, unrelated cause worth ruling out separately: high-resolution source footage (4K or above) being played back and trimmed in full resolution on a machine that can't decode it in real time. Rather than fighting this by trimming against a stuttering preview, editors commonly generate proxies — lower-resolution stand-in files linked to the same timeline — edit against the smooth proxy, and let Premiere swap back to the original full-resolution media at export. This solves a hardware ceiling that no sequence-settings fix can solve, and the two problems are easy to confuse because both present as a timeline that doesn't scrub cleanly while trimming. The distinction matters practically: changing sequence settings will not fix a decoding bottleneck, and switching to proxies will not fix a genuine resolution or frame-rate mismatch, so diagnosing which one is actually happening is worth doing before reaching for either fix.
Editing task changes (assembly, colour, audio)
Different stages of an edit need different panels visible, and Premiere's answer to that is the workspace switcher rather than manually rearranging panels each time. The default Editing workspace surfaces the Project panel, Source and Program monitors, and the timeline — everything needed for the assembly and trim steps above, and nothing that a first pass through a rough cut doesn't need.
Moving into colour work calls for the Lumetri panels and scopes instead of bins; moving into audio calls for the Essential Sound panel and audio meters instead of effects controls. Switching workspaces, rather than hunting for a panel through the Window menu each time, is the intended pattern the Rice University Premiere guide describes for moving between tasks without losing track of what's open. A beginner who tries to do colour grading inside the Editing workspace isn't doing anything wrong technically, but is working with the wrong tools on screen and will eventually go looking for a scope or a wheel that isn't there. The same applies in reverse: doing structural trimming inside the Color workspace means the timeline is visible but crowded out by scopes that a trim decision doesn't need, which slows down exactly the fast, repetitive work that trimming is supposed to be.
Learning the workspace switcher early also shortens the time spent relearning the interface on a second or third project, since the panels a task needs don't change once the pattern is set — assembly always wants the timeline and monitors, colour always wants Lumetri and scopes, audio always wants the Essential Sound panel and meters, regardless of what the footage itself is.
Clip, audio track and workspace compared
These three terms get used loosely, but they describe three different layers of the same edit, and mixing them up is a common source of confusion for anyone new to the interface.
| Entity | What it is | Where it lives | Common beginner error |
|---|---|---|---|
| Clip | A single segment of media on the timeline — the unit that gets trimmed, moved or deleted | Video or audio track, referenced from a Project panel bin | Trimming a clip's visible edge without adjusting the linked audio, creating drift between picture and sound |
| Audio track | A timeline layer holding audio clips, edited independently of video tracks | Below or alongside the video tracks in the same sequence | Editing dialogue and music on the same track, making it impossible to adjust levels separately |
| Workspace | A saved arrangement of panels suited to one task (editing, colour, audio, effects) | The interface itself, switched from the workspace bar at the top of the window | Staying in one workspace for every task instead of switching, then not finding the panel a task needs |
The clip is the atomic unit of the edit; the audio track is where audio clips are organised separately from picture so levels and effects can be handled independently, a separation both the Wisconsin manual and Adobe's own guide treat as a baseline assumption rather than an optional habit; and the workspace is the lens the editor looks through to work on either one. None of the three substitutes for another — a well-organised set of tracks doesn't help if the wrong workspace is open, and switching workspaces doesn't fix a clip whose audio has drifted from its picture.
Is Premiere Pro the right tool for the job
Whether Premiere is "good" for video editing depends less on the software's capability, which is broad, and more on whether the learning curve and cost fit what's actually being edited — a quick social clip and a multi-camera short film are not the same job, and "Premiere" covers more than one product.
| Tool | Editing model | Access | Best suited to |
|---|---|---|---|
| Adobe Premiere Pro | Full multi-track timeline, professional trim/colour/audio tools | Creative Cloud subscription | Structured projects needing precise trims, multiple tracks, and export control, as described in Adobe's video app comparison |
| Adobe Express | Template-driven, browser-based video editor | Free tier, browser only | Fast single-clip edits and social formats where a timeline isn't needed, per Adobe Express's own feature page |
| After Effects | Compositing and motion graphics, not a cut-based timeline | Creative Cloud subscription | Titles, effects layers and motion work built to be dropped back into a Premiere sequence, as Adobe positions it alongside Premiere |
Premiere Elements, a separate consumer-tier product sold outside the Creative Cloud subscription, sits between Express and Premiere Pro in capability, and confusing it with Premiere Pro is one of the more common sources of frustration when a guided template that Elements offers simply doesn't exist in the professional timeline tool. The practical answer to "is Premiere good for video editing" is that Premiere Pro is built for exactly the trim-heavy, multi-track workflow this article walks through, at the cost of a subscription and a learning curve that Adobe Express is deliberately built to avoid for anyone who only needs a short, template-driven edit rather than full timeline control.
Picking between the three is less about which is "best" in the abstract and more about matching the tool to the job in front of you: a single vertical clip destined for one platform rarely needs multi-track colour and audio tools, while a project with several camera angles, a music bed and titles almost always does. Starting in Premiere Pro for a job that Express would handle in minutes mostly adds a learning curve with no corresponding benefit; starting in Express for a job that needs precise multi-track trims runs out of headroom quickly.
The 80/20 rule and a minimal first session
The 80/20 rule, as editors commonly use it, describes where the visible improvement in a cut actually comes from: the bulk of what separates a rough assembly from a finished video is structural trimming — cutting dead air, tightening pacing, fixing the order of shots — while effects, colour and transitions add comparatively little on their own, a point the Nexacu Premiere Pro guide makes when it frames trimming as the core skill worth mastering before layering on polish. It's a working heuristic rather than a measured ratio, and its use is to stop a beginner from reaching for effects to fix a cut that's actually just too long.
A first session that puts this in practice doesn't need to cover every tool:
- Create a project, import one short clip, and build a sequence matched to it rather than a preset.
- Make ten cuts using only the Razor and ripple trim tools — no transitions, no effects.
- Watch the assembly back once, note where pacing drags, and trim those sections again.
- Only then add a single transition or title, and export using a setting that matches where the video will be watched.
That order — structure first, polish second — is the same sequence the end-to-end workflow above follows, and it's the fastest route from an empty project panel to a finished, watchable cut. It also keeps the first session short enough to finish in one sitting: a single short clip, ten cuts and one export is a realistic amount of work to complete before moving on to a second, longer project where sequence settings, offline media and workspace switching all start to matter more than they do on a first, single-clip pass.
The habits that matter most at this stage aren't visual ones. They're the folder structure decided before import, the sequence settings checked against the source clip before the first cut, and the workspace switched to match the task rather than left on whatever opened by default — three decisions made before the timeline has a single trim in it, and the three most common places a beginner project runs into the problems this article has covered.